(#137) INSTAGRAM HIGHLIGHTS TUTORIAL
We LOVE Instagram Stories (just check out our Instagram and you'll see). However, after 24 hours they go away! waa, waa, waaaaa... There is an easy solution and we're sharing how to set it up. Instagram Stories Highlights are curated clips grouped by you and live permanently on your profile or until you want to freshen them up.
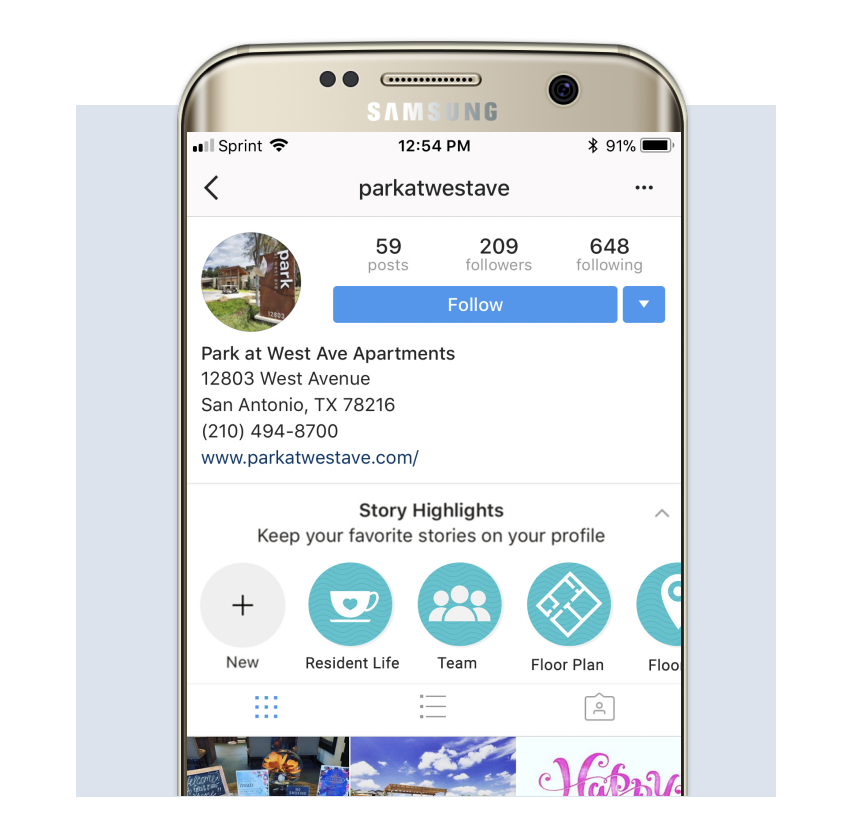
They appear under your bio and above your Instagram feed and will play as a story when someone taps on it. Since it's literally front and center on your profile, you control what prospects, or residents, see first.
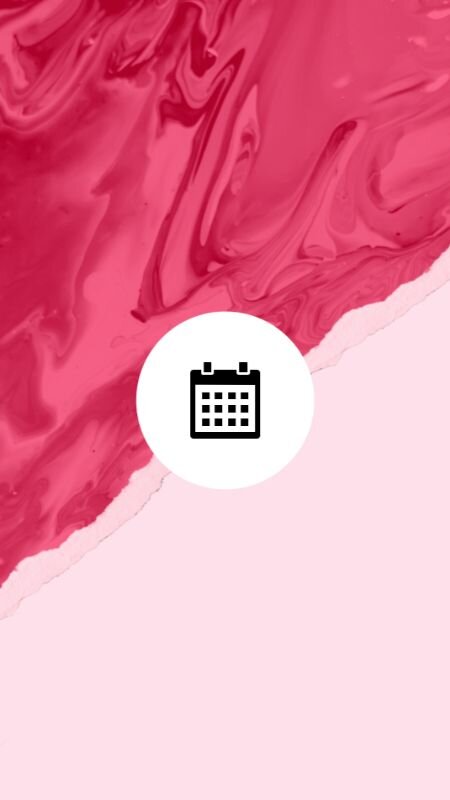
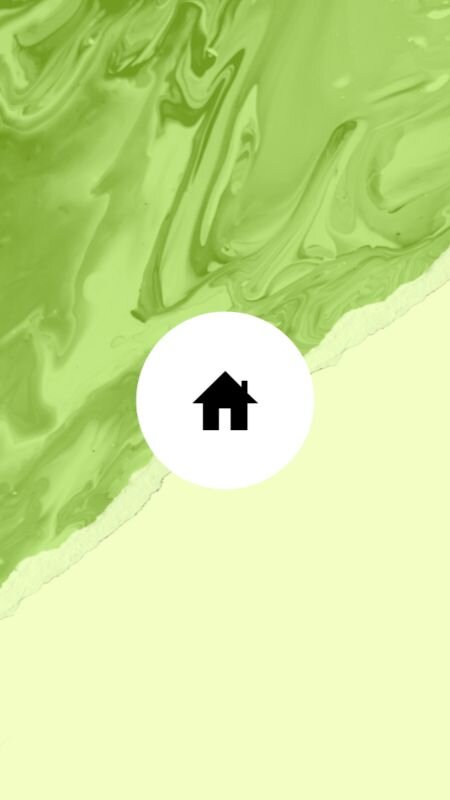
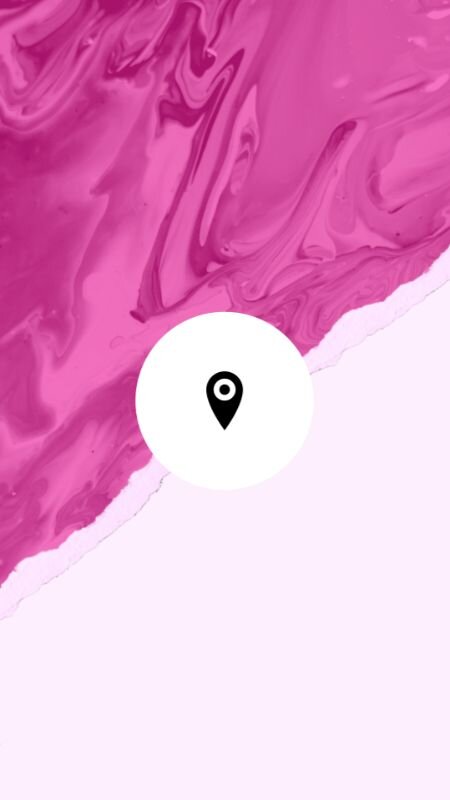
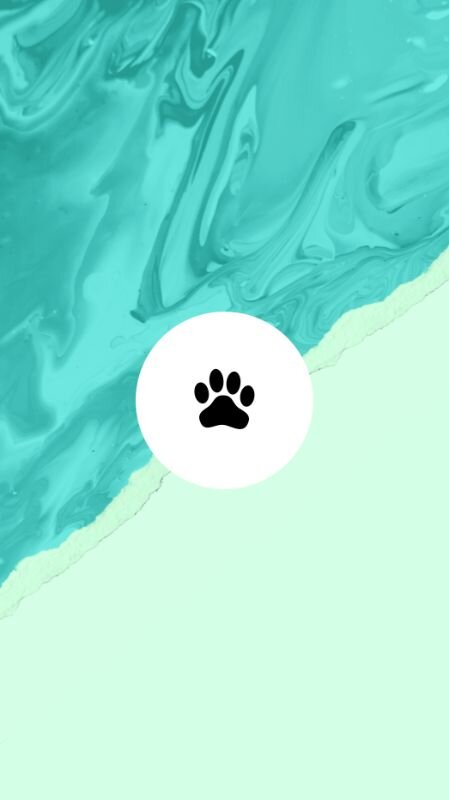
Imagine the possibilities! Share sales and other promotions, highlight floor plans and amenities, introduce your Leasing Team, share what's in your neighborhood (Food, Workout, etc), or give a shout out to your wonderful residents.

DO IT NOW

STEP 1: TURN THE AUTO-ARCHIVING FEATURE ON. Settings > Story Settings > Save to Archive. Similar to the Snapchat Memories Feature, Instagram Stories Archive will automatically save your stories into the cloud, so they won’t be lost forever if you forget to save them to your camera roll.

STEP 2: POST YOUR HIGHLIGHT COVER PHOTOS TO YOUR STORY. To ensure it looks authentic to your story, give a quick intro such as “We want to give you a taste of what our community is all about! Check out our stories for things like…” then post all the highlight cover photos back-to-back.

STEP 3: CREATE YOUR INSTAGRAM STORIES FROM YOUR PROFILE PAGE. To create a highlight album from your profile, tap on the + sign in the Story Highlights section.

STEP 4: SELECT POSTS. When you add a new highlight, the archive list of your Instagram stories appears. Simply select the posts you want to add to that highlight album and tap next.

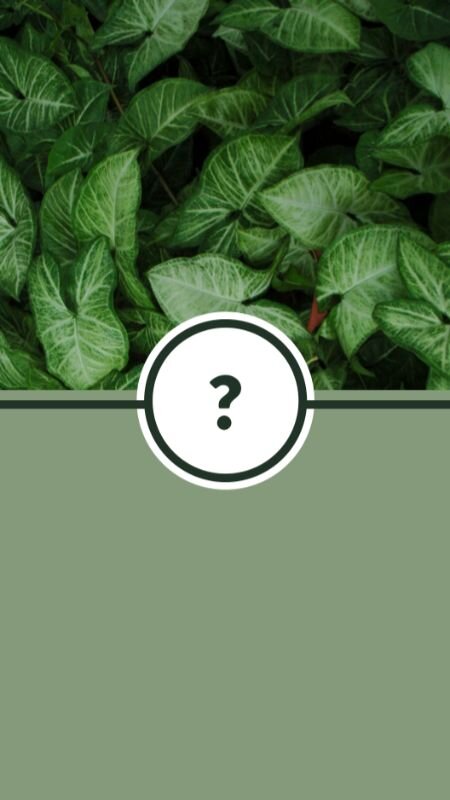
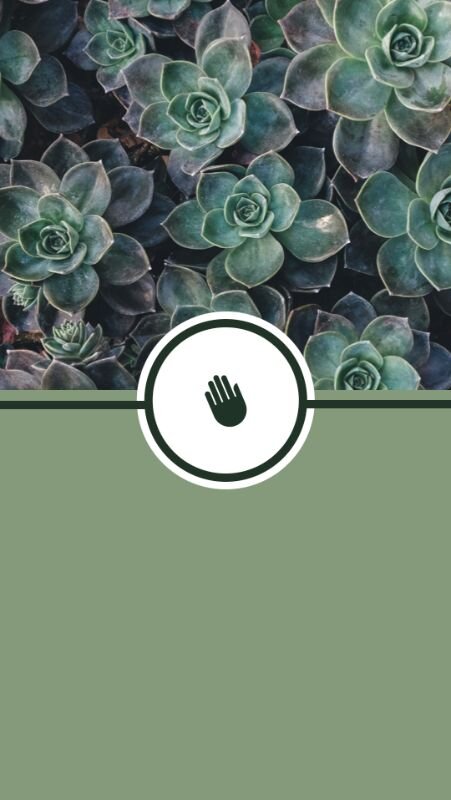
STEP 5: CHOOSE A TITLE / SELECT A COVER. Immediately after you’ve selected your stories, you’ll be prompted to choose a title and select your cover photo. This is where you can use one of our sweet Highlight covers (download below)! Remember, only the first 10 characters show up in your bio feed which can often make the Highlight title confusing to viewers. So try to keep titles short and sweet.

STEP 6: EDIT HIGHLIGHT ALBUM COVER IMAGE. The highlight album cover will be the first image you uploaded to the highlight. Scroll through the selected images beneath the sphere to choose your new cover. To correctly align your image, drag, zoom, and reposition your cover image within the sphere with your fingers. Click done.
STEP 7: FINISH. Once you’re happy with the cover, click add. This adds the new highlight series to your page!
HAPPY HIGHLIGHT-ING!
SELECT YOUR COVERs (choose from 8 styles)
Click to download